
- Installation Photo Gallery - ScreenShots - Introduction, Access to configuration page, Configuring the communication ports (Serial & UDP)
- Setting up Sensors and Conditions - List of Values, presentation of values in the Navigation page - Configuring Relative Wind Sensor
- Configuring True Wind Sensor - Configure GAUGE1 as Rudder
- Setting up Sensors and Conditions - List of Values, presentation of values in the Navigation page - Configuring Relative Wind Sensor
- Configuring True Wind Sensor - Configure GAUGE1 as Rudder
INTRODUCTION
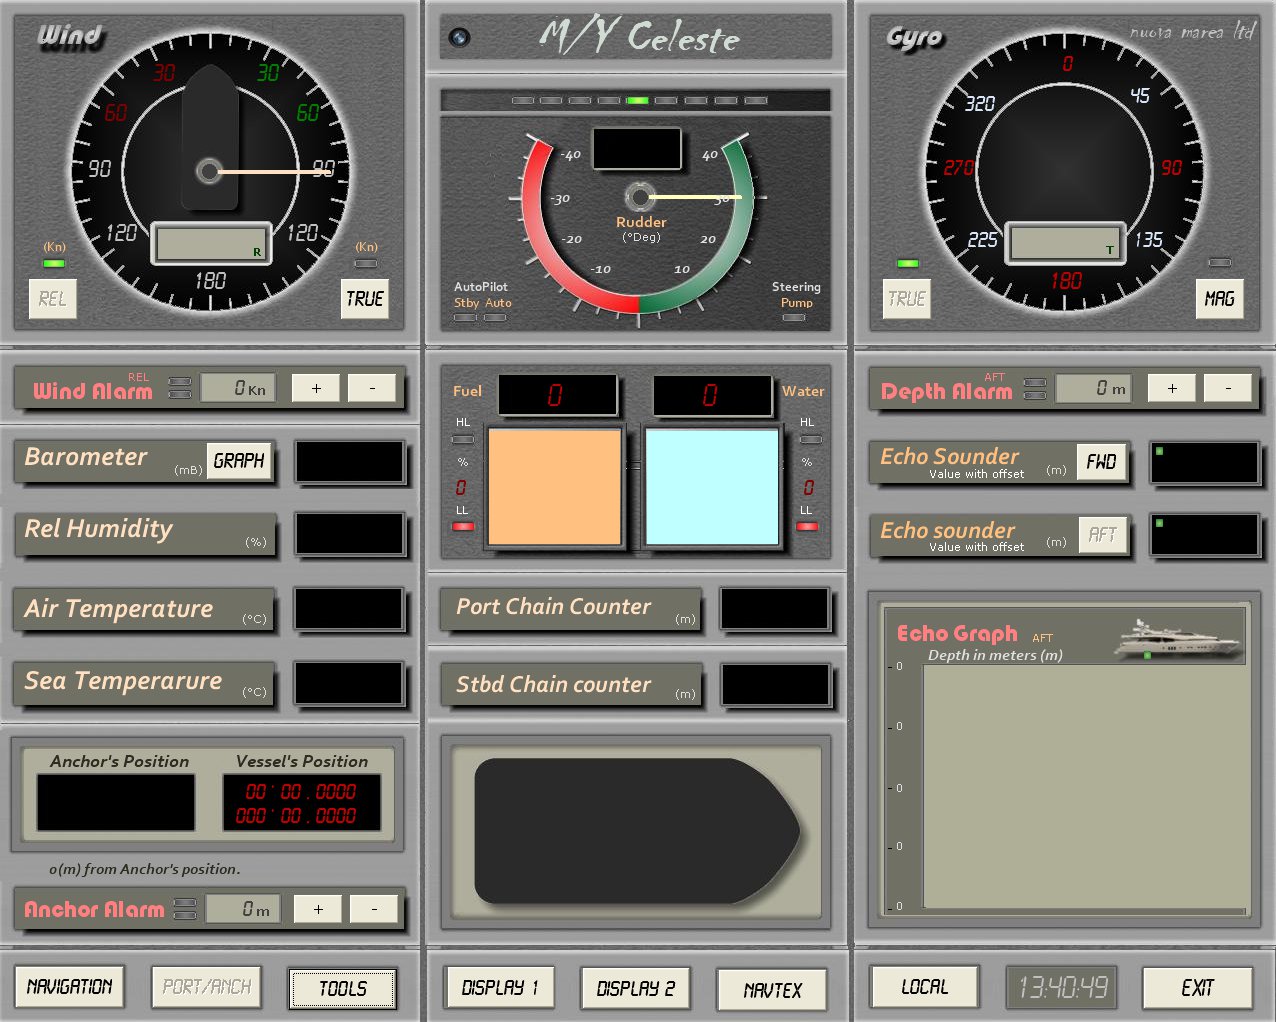
Pytheas is a software that receives standard or custom NMEA data and present them as data or graphics in a marine type user interface.
Pytheas is consisting of three main pages NAVIGATION, PORT/ANCHOR, TOOLS and the SETUP page.
The idea is to have a reliable presentation of data when you need them. Configure the NAVIGATION page to get the data you need when navigating and PORT/ANCHOR with the required data when at port or anchor
Setting up the conditions during setup proccess lets you get all digital or analog data from vessel's navigation and communication equipment.
|
|
ACCESS THE CONFIGURATION PAGE
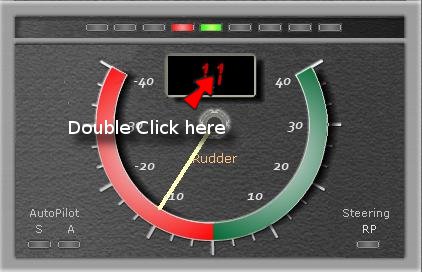
You can access configuration page by pressing the <CONFIGURATION> button in TOOLS page.
If the button is disabled (means that you lock it to avoid anauthorized access then goto NAVIGATION page and double click at the numeric value of the middle analog instrument (mostly used for rudder) or click to view the help picture
CONFIGURATING THE COMMUNICATION PORTS
Pytheas is able to handle and receive NMEA data from 16 Ports named Port 00, Port 01, .... , Port 15
These ports are devided in two groups, the Serial Port Group (Port 00 to Port 07) and the UDP Port Group (Port 08 to Port 15)
Every Serial Port from the motherboard or any additional multiport card like MOXA, ADVANTECH etc installed in the computer if is recognised by the operating system (Windows XP, Widows 7) can be used also from Pytheas as data input.
SERIAL PORT CONFIGURATION
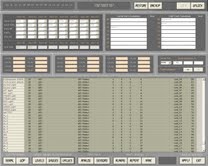
1. In the configuration page press the <SERIAL> button
Pressing the button you enable the configuration of
- the dropdown boxes for Port 00 to Port 07
- the Serial Port Comment (to add comments like the connected device)
- and appear the Test buttons 00 to 07
2. Configure Serial Com Ports (by using the dropdown boxes foe each port)
Serial Port
The numbers appearing are the serial port numbers as they are recognised by Windows
Select Baud Rate
4800, 9600, 14400, 19200, 38400
Select Data Bit
7, 8
Parity
N
Stop Bit
1, 1.5, 2
3. Write a comment about the connection
Add a comment or the name of the connected device for every used port.
The fields can remain blank if you wish
4. Test for connection
If for example your Gyro Compass is connected to Port 03 (Physically connected to computers serial port 5 with 4800,b,N,1) then you can click the button <03> and the test editor appears.
- Drag the frame to move around the screen
- Press <Stop> to stop receiving
- Double Click tester's frame to close
5. Save the settings
Press <Apply> to save the settings in the configuration file
UDP PORT CONFIGURATION
1. In the configuration page press the <UDP> button
By pressing the UDP button you enable the configuration of
- the text boxes for Port 08 to Port 15
- the UDP Port Comment (to add comments like the connected device)
- and appear the Test buttons 08 to 15
2. Configure UDP Ports (by using the text boxes for each port)
Type the UDP port number to listen for data
3. Write a comment about the connection
Add a comment or the name of the connected device for every used port.
The fields can remain blank if you wish
4. Test for connection
If for example your GPS is connected to Port 11 then you can click the button <11> and the test editor appears.
- Drag the frame to move around the screen
- Press <Stop> to stop receiving
- Double Click tester's frame to close
5. Save the settings
Press <Apply> to save the settings in the configuration file
