|
NM-422ETH
NMEA-0183 Multiplier With Ethernet Interface (User Guide) Introduction, Operation, Inputs, Outputs, Power supply, Connections, Connecting Ethernet interface, Led indicators, Configuring as Dual Converter, AutoPilot port, Specifications, troubleshooting, Installing Discovery utility, Using Discovery utility, DHCP Configuration, Manual Configuration, Virtual Port, UDP configuration, Downloads
|

Price 270.00 Euro
On-line orders -15% |
Installing the Device Discovery Utility
The following procedure shows how to install Device discovery utility which is useful for tracking and managing NM-422ETH devices connected to a local network. When installing discovery utility NM-422ETH does not have to be connected or powered on.
|
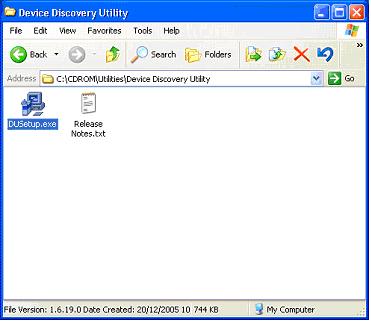
STEP 1: Open windows explorer and find Device Discovery Utility in supplied CD-ROM. Double click on DUSetup.exe to begin installation |
|
|
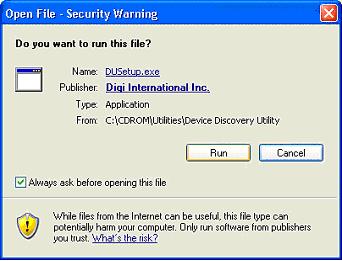
STEP 2: Windows could then give a warning that user is about to run the selected file. Click Run to continue |
|
|
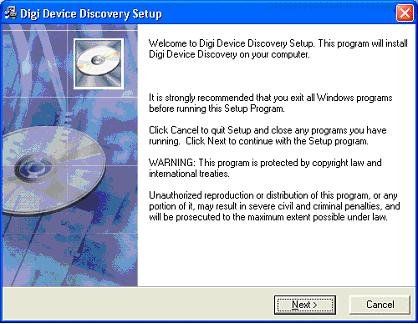
STEP 3: Click Next to continue |
|
|
STEP 4: Select destination folder for the Utility to be set up (default folder recommended) and click Next STEP 5: Copying of the needed files is ready to begin. Click Next to continue |

|
|
STEP 6:
After completion of installation a success notice is supplied. Click Finish to exit. |
|
