|
NM-422ETH
NMEA-0183 Multiplier With Ethernet Interface (User Guide) Introduction, Operation, Inputs, Outputs, Power supply, Connections, Connecting Ethernet interface, Led indicators, Configuring as Dual Converter, AutoPilot port, Specifications, troubleshooting, Installing Discovery utility, Using Discovery utility, DHCP Configuration, Manual Configuration, Virtual Port, UDP configuration, Downloads
|

Price 270.00 Euro
On-line orders -15% |
CONFIGURATION OF THE NM-422ETH FOR UDP SOCKETS MULTICAST FUNCTION
After discovering and setting the NM-422ETH to a fixed IP address as described earlier the following steps must be completed to setup the device to multicast the received NMEA data to UDP sockets.
STEP 1:
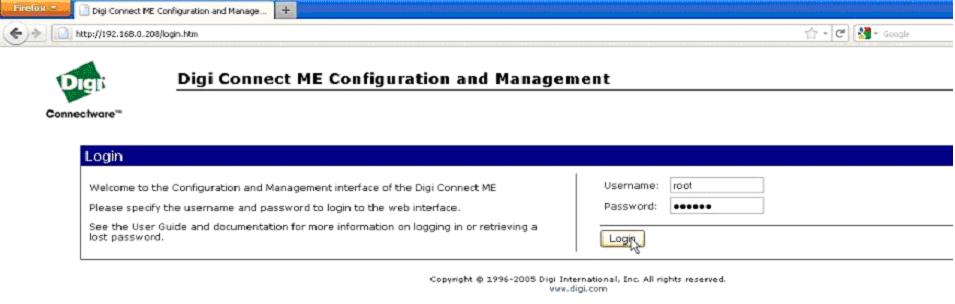
Double click on the discovered device in the Digi Discovery Utility to bring up the login menu on an http explorer. Complete the appropriate field and press the Login button
Username: root
Password: nm2003
Double click on the discovered device in the Digi Discovery Utility to bring up the login menu on an http explorer. Complete the appropriate field and press the Login button
Username: root
Password: nm2003
STEP 2:
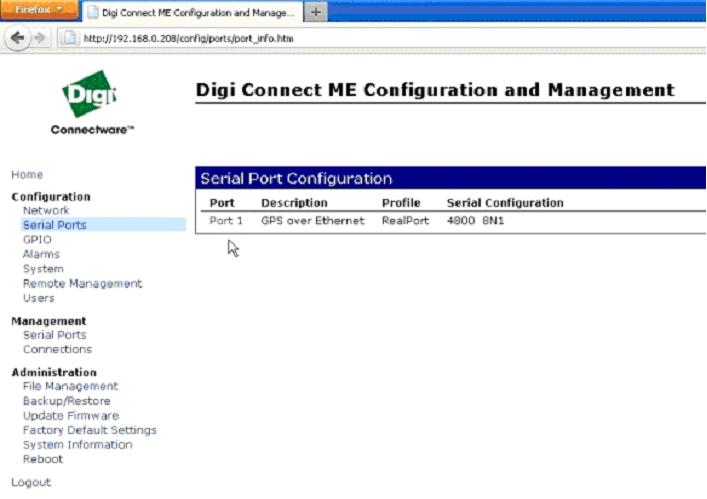
Click on Serial Ports under Configuration menu as shown below
Click on Serial Ports under Configuration menu as shown below

STEP 3:
Click on Port 1 under Serial Port Configuration menu
Click on Port 1 under Serial Port Configuration menu
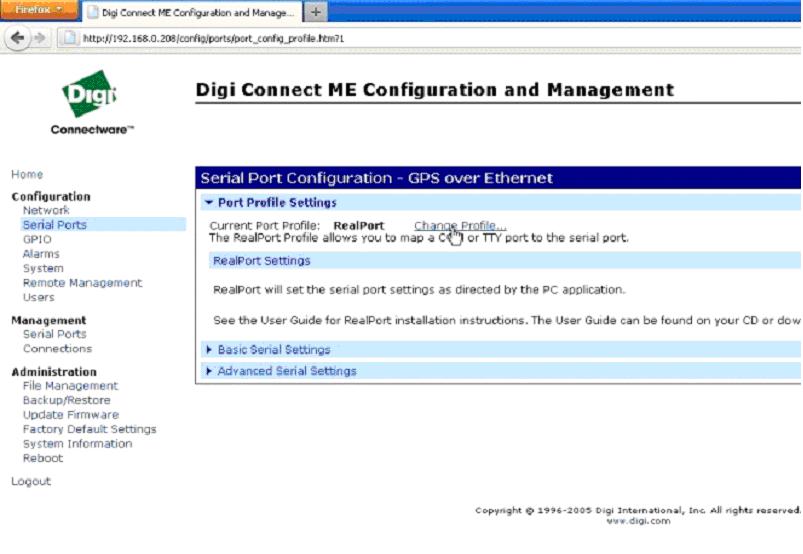
STEP 4:
Click Change Profile… to set a new profile
Click Change Profile… to set a new profile